
Name the failure before touching a slider
Sort the problem into composition, identity, local anatomy, surface detail, or final resolution. Each belongs at a different stage. A bad composition calls for a new seed, prompt, aspect ratio, or structural control. A single malformed hand calls for inpainting. A good low-resolution image may benefit from hires fix or upscaling.
Save the current image and its full settings before testing. In AUTOMATIC1111, generation parameters can be stored with an image; ComfyUI embeds enough workflow data in supported outputs to reconstruct many pipelines.
Use the cheapest plausible fix
- Wrong overall scene: simplify contradictory prompt clauses, change the seed, or use pose/depth control.
- Wrong visual vocabulary: choose a more suitable checkpoint before adding more prompt weight.
- Flat or burned rendering: test guidance in a small range around the model recommendation.
- Unfinished denoising: compare a few step counts; returns diminish and model families differ.
- Color or decoded detail looks wrong: confirm the expected VAE.
- Small isolated defect: mask tightly and inpaint with enough surrounding context.
Test settings as a small experiment
Lock the prompt and seed. Make a grid that changes one parameter: step count, guidance, or sampler/scheduler pair. Compare composition, fine detail, contrast, and artifacts at full size. Do not treat one model's sweet spot as a universal number.
Forge and AUTOMATIC1111 provide convenient comparison scripts; a ComfyUI graph can branch the same latent into controlled variants. Fooocus intentionally hides more of this tuning, which can be an advantage when the goal is prompt-first iteration rather than parameter research.
Repair first, enlarge second
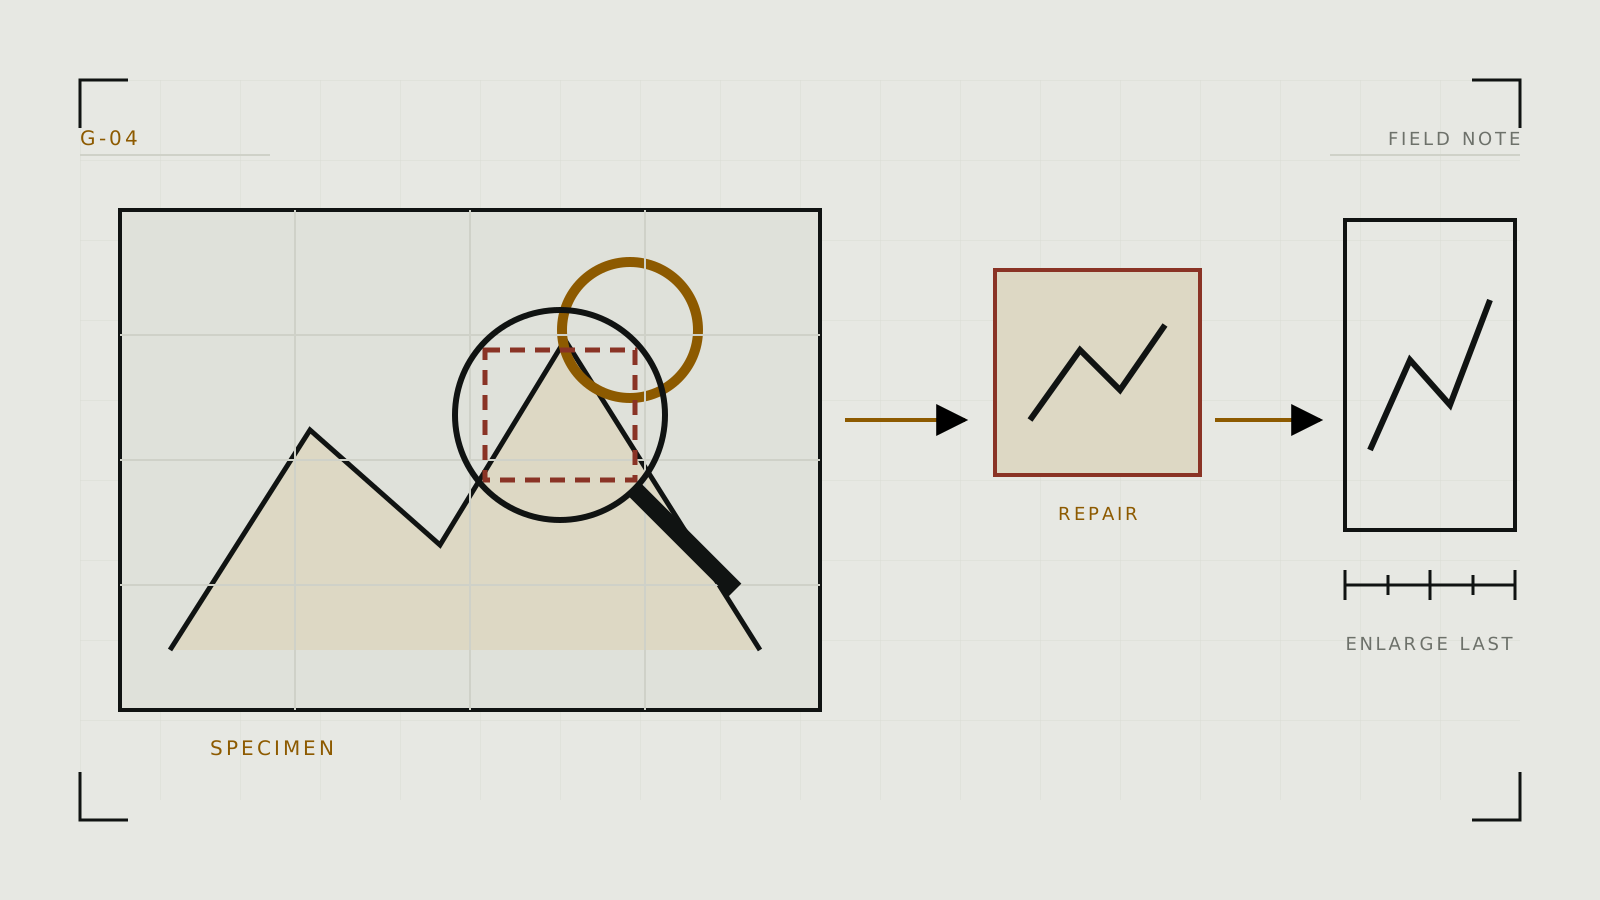
Upscaling magnifies the current image; model-led high-resolution passes reinterpret it. Fix the face, hands, boundaries, and unwanted objects before enlargement. For hires fix, keep the denoising change restrained if you want to preserve composition. If it is too strong, the second pass becomes a different image.
Inspect the final file at 100 percent. Look for oversharpening, repeated texture, melted fine structures, seams around masks, and a face that changed during the second pass. Return to the earliest stage responsible for the failure instead of stacking another enhancer.
A repeatable stopping rule
Stop when the image meets its intended viewing size and the remaining issues are less noticeable than the artifacts introduced by further processing. Keep a generation log for reusable settings, but separate model-specific recipes. If the core result is still weak after a few controlled tests, switch the model or rebuild the composition rather than increasing every setting.
For an end-to-end sequence, return to the practical generation workflow. If the recurring issue is a changing face rather than general quality, use the character-consistency workflow.
Technical context
Match an intervention to its pipeline stage instead of changing unrelated controls together.